Arduino
First we had to set up our Arduino and breadboard with all the correct wiring so that the button, ultrasonic sensor, and motor would all react to our code. This took a bit of rewiring but overall was not too challenging, mainly because we have had so much experience with Arduino in this class. Here's what the final setup of our Arduino and breadboard looks like:

Soldering
Because we were using a sample touch switch to function as our "button" while we tested the code, we now needed to attach our actual button to the Arduino. We learned that our wires needed to connect to the "normally open" setting on the button, which means that no current will flow when the button is unpressed, and current will flow through when the button is pressed. Soldering was one of our difficulties during this project, as many times our first soldering job wasn't strong enough to hold the wires. We also needed to fortify the bond on the ultrasonic sensor we by soldering the wire connection. It was often frustrating because we would have already attached all our pieces together only to find that a wire had broken, causing us to have to cut many wires unnecessarily and reattach them. Here is a photo documenting some of the soldering process:

The Box
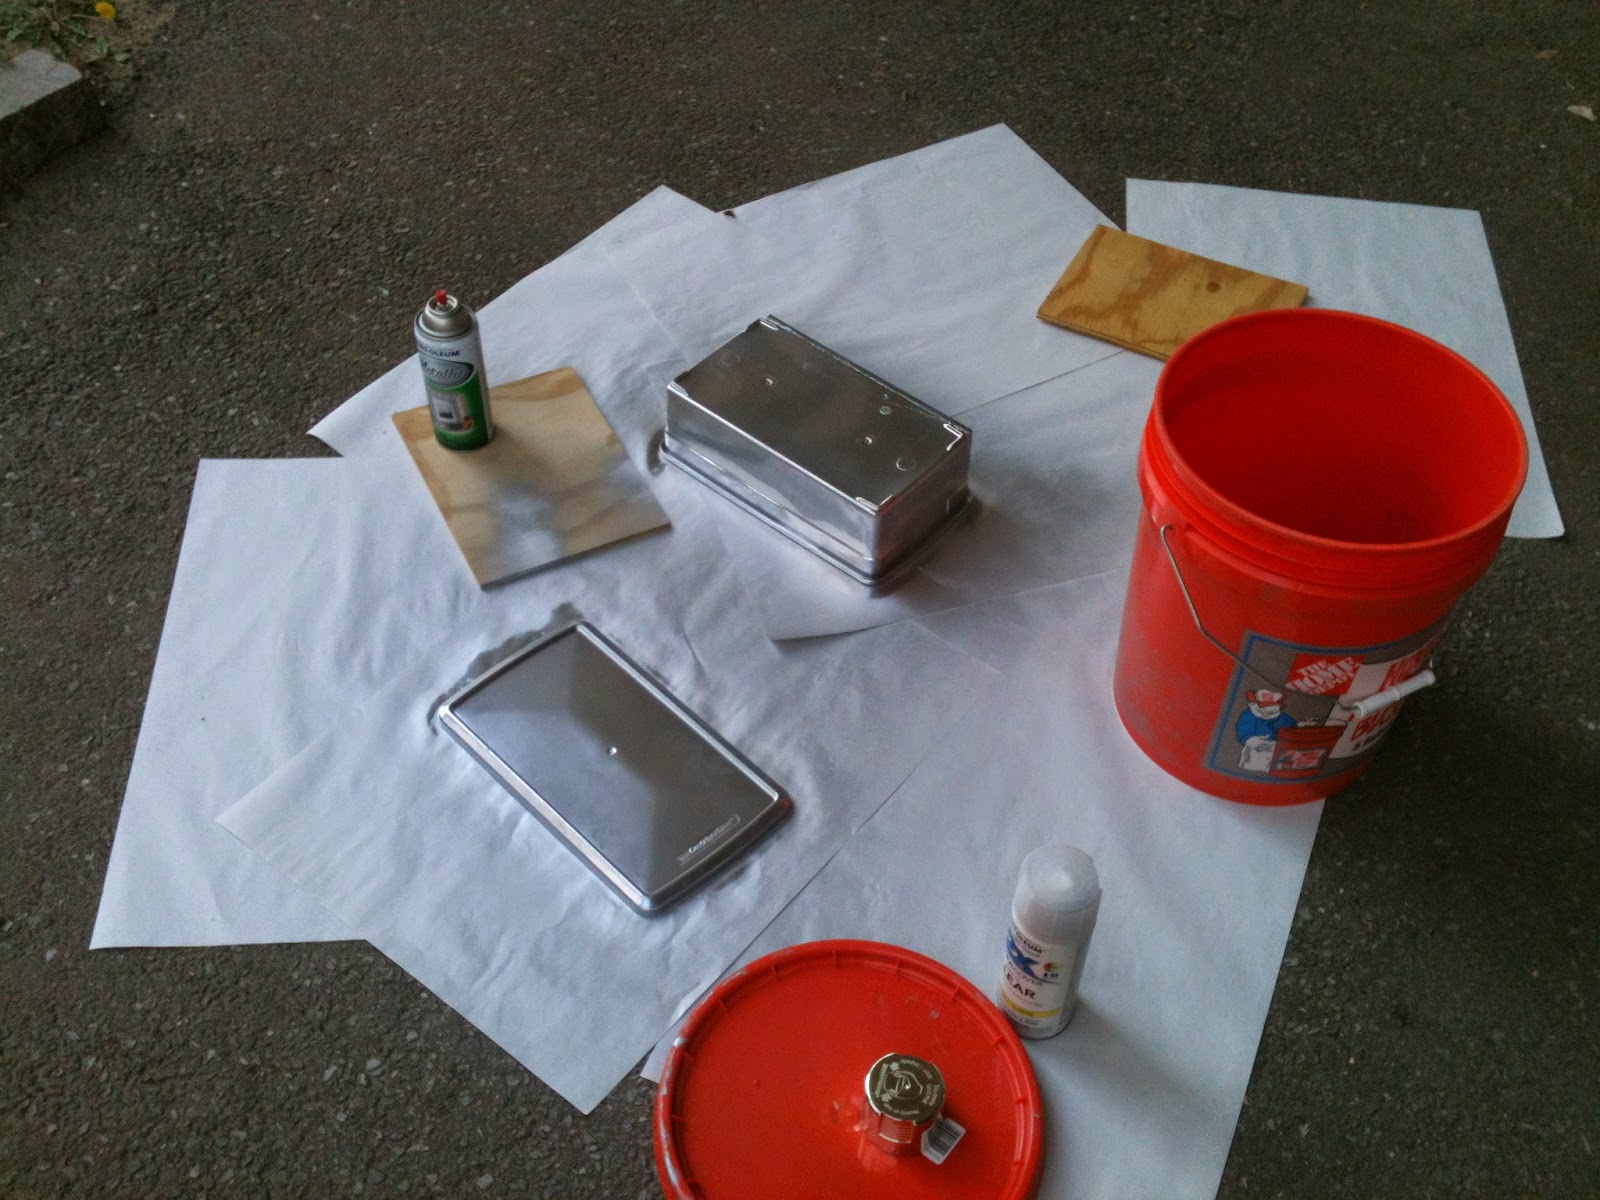
Next, we had to worry about setting up the box which would contain all of our parts. It was important that the box not be clear so that the children would not feel tempted to open it and play with potentially dangerous wiring and/or break our device. To ensure that neither of these would happen we decided to spray paint our box an opaque silver.
Further, we needed to make three different cuts into our box. First, we needed to make a small hole in the lid of the box, which would be facing toward the back when mounted on top of the toilet, so that the wire connecting the motor to the battery pack would have a place to come out. We did this using a band saw and a box cutter, then we sanded it down to make sure there were no rough edges. Second, we needed to make holes for the button and the ultrasonic sensor to stick out. To do this we measured their diameter and used a compass to draw the appropriate circles on a sheet of paper. We then taped these paper circles onto the box where we wanted the holes to be. We used a very small drill on the drill press to drill holes along the circumference of each circle. From there we used a box cutter to cut out the circles from the box and finally sanded down the holes to make them smooth and safe.
After this process, we were able to insert our button and sensor into the box. Here is what the outside of our piece looks like:

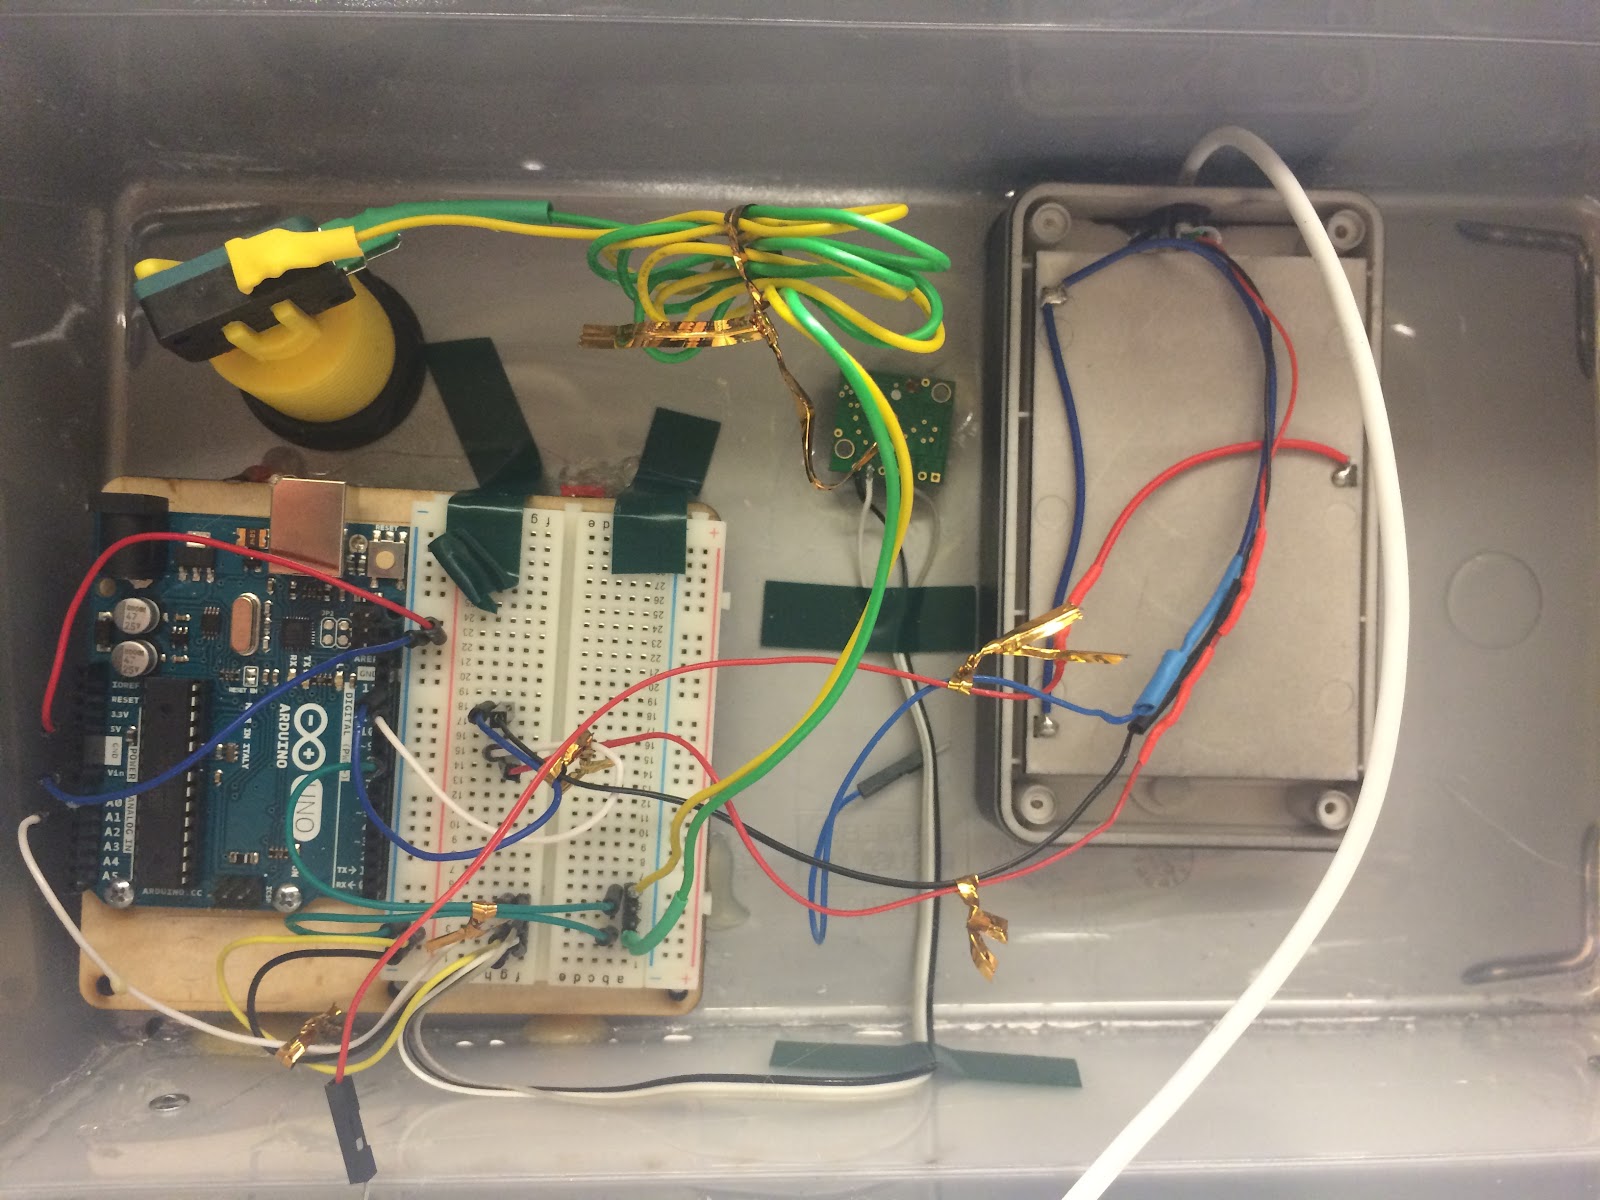
We also attached the other components such as the Arduino and battery pack to the inside of the box using both glue and tape. We made sure the battery pack was able to be removed as well so that the batteries could be replaced when necessary. Here is a photo of the inside of the box:
On my next and final post about this project I will discuss the presentation and demo of our prototype as well as reflect on the process.
No comments:
Post a Comment